Story and Photos By Brianna Sullivan
I saw these adorable “pumpculents” on the Instagram page for the Sierra Water Gardens and knew I had to have one! They were sold out when I went but the owner, Sam, gladly showed me how to make them. It’s extremely easy and fun and would make for a great family activity. (Just be sure you help the kids with the hot glue gun; they can be very hot and cause burns.)
If you aren’t very ambitious or creative, or don’t have enough time, pumpculents are available for purchase at Sierra Water Gardens. They are going fast though, so it’s best to call ahead. Sierra Water Gardens is open Wednesday through Saturday from 10 a.m. to 5:30 p.m. and Sundays 11 a.m. to 4 p.m. They close for the season on Oct. 29.
Supplies:
- Pumpkin (any size or color)
- Spray or liquid adhesive (see below)
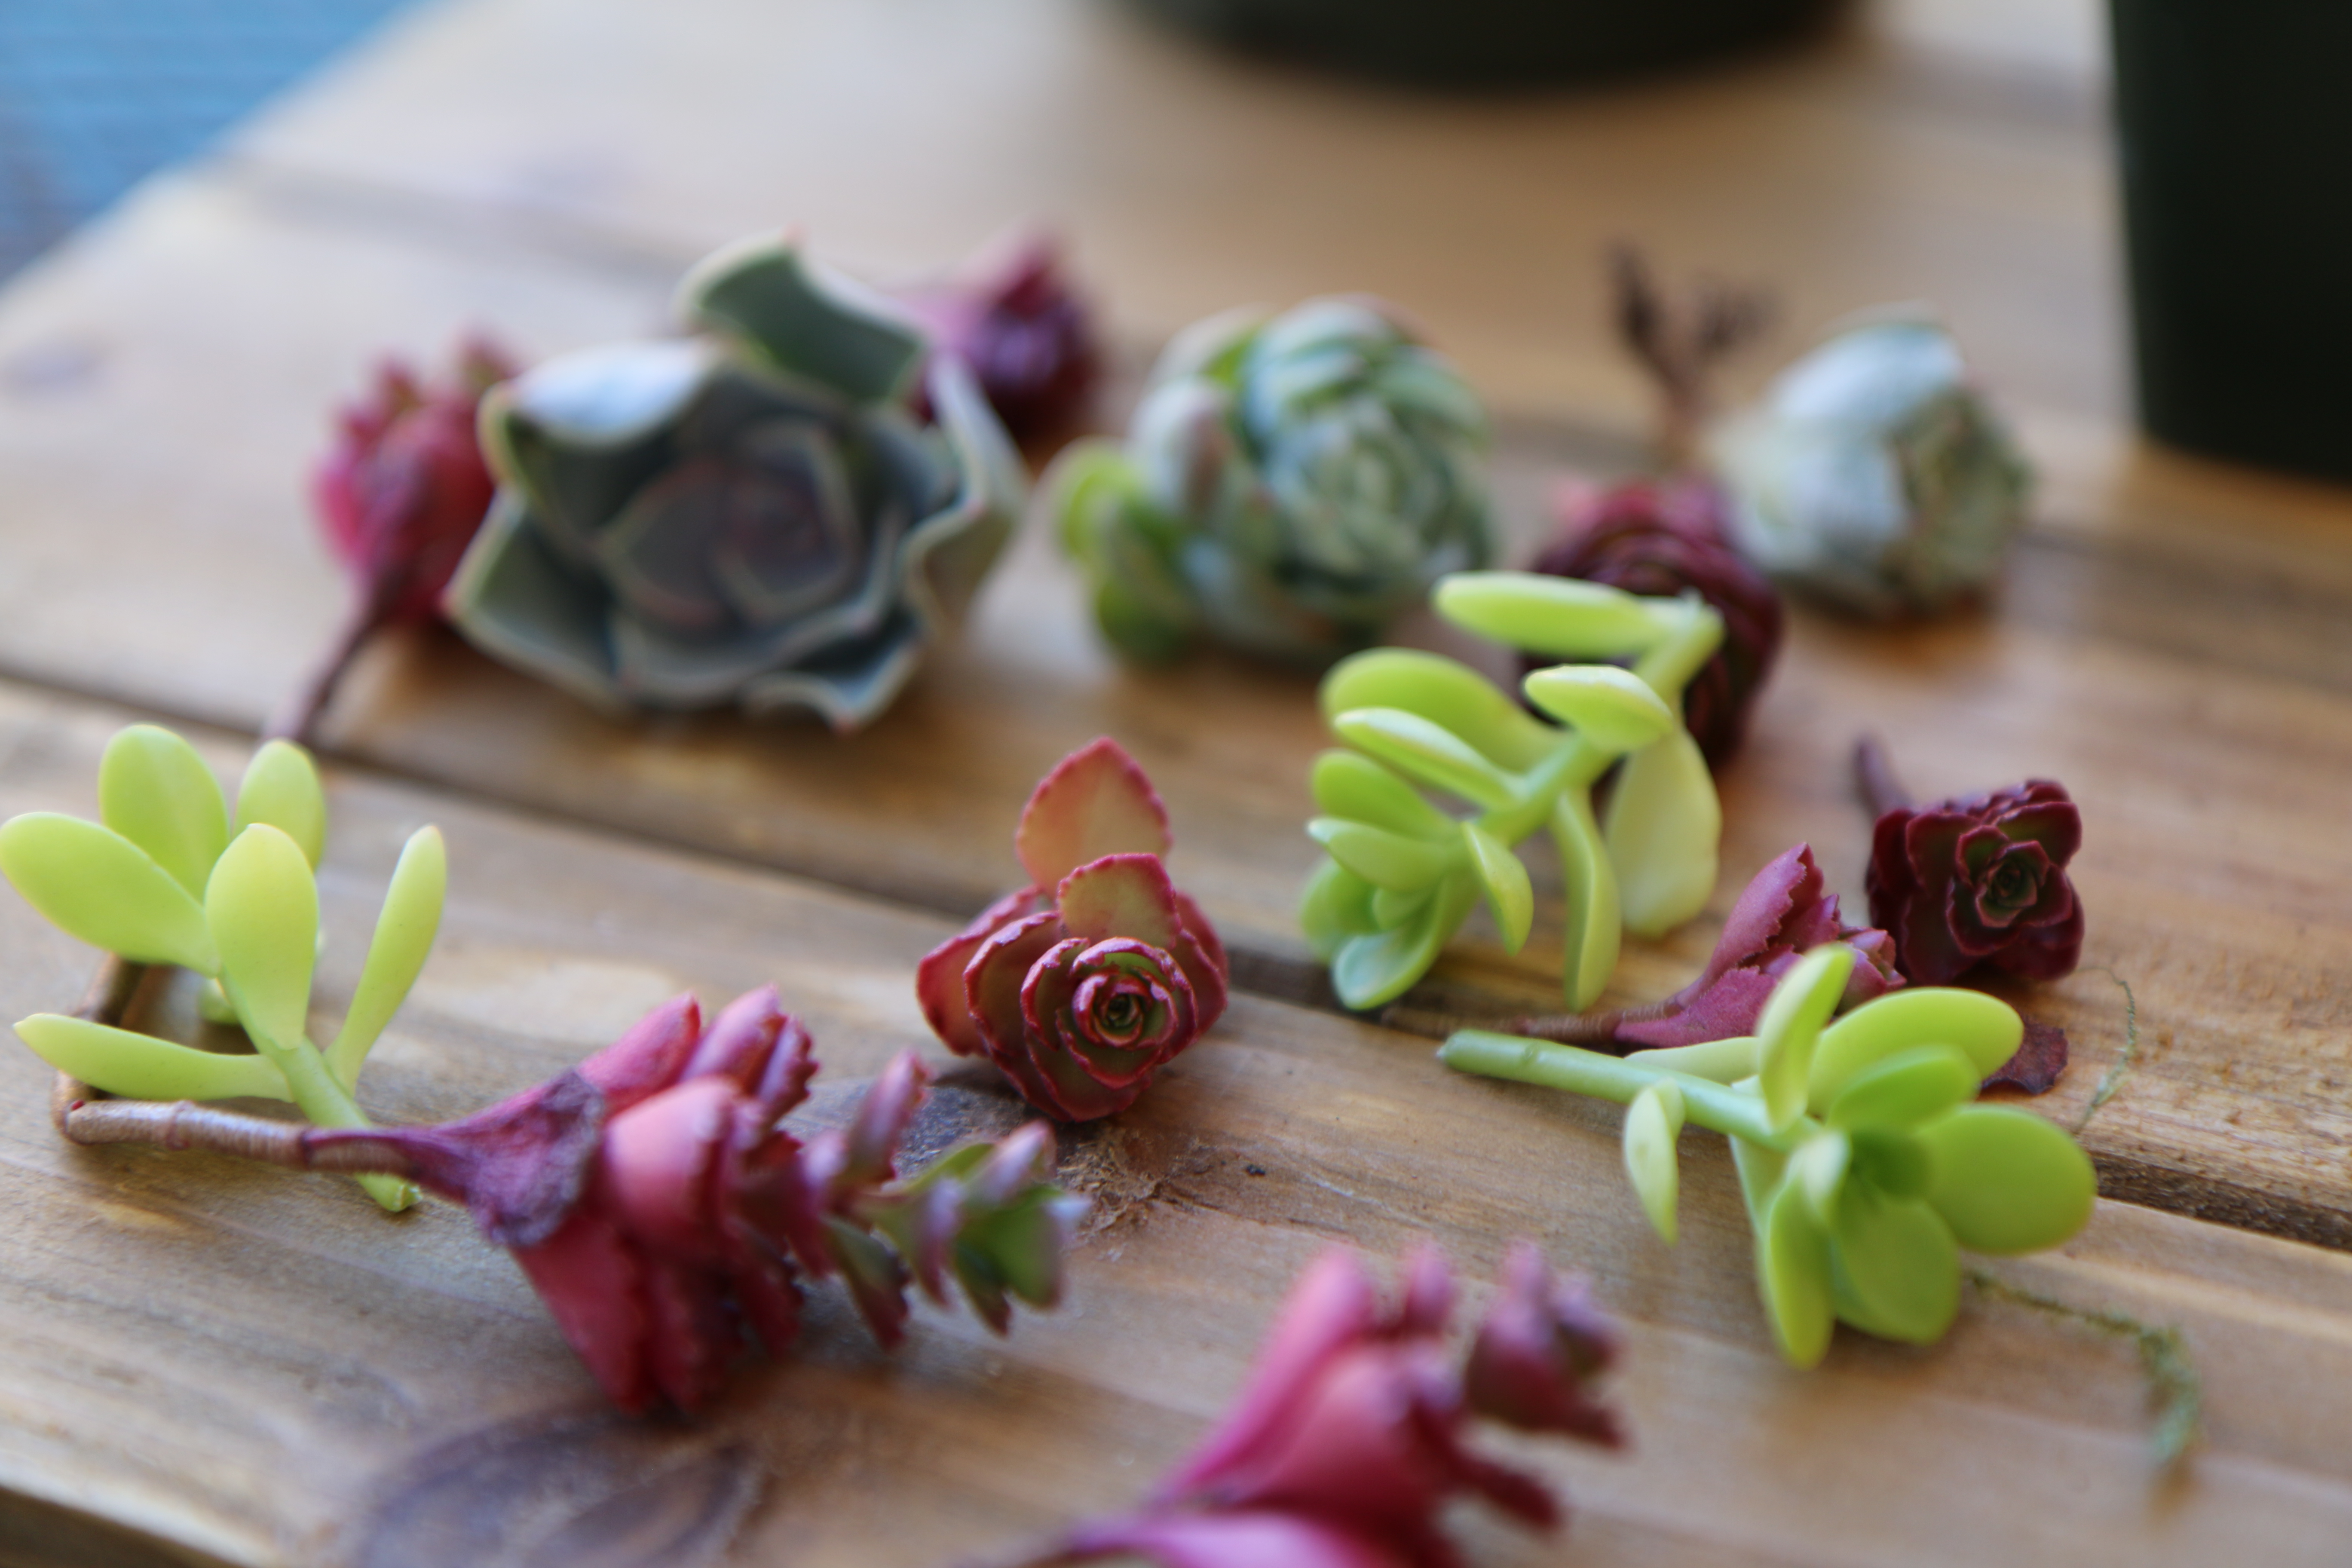
- 3 large succulents
- 5 to 7 smaller succulents (mix up colors, heights, and sizes for your succulents)
- A little moss
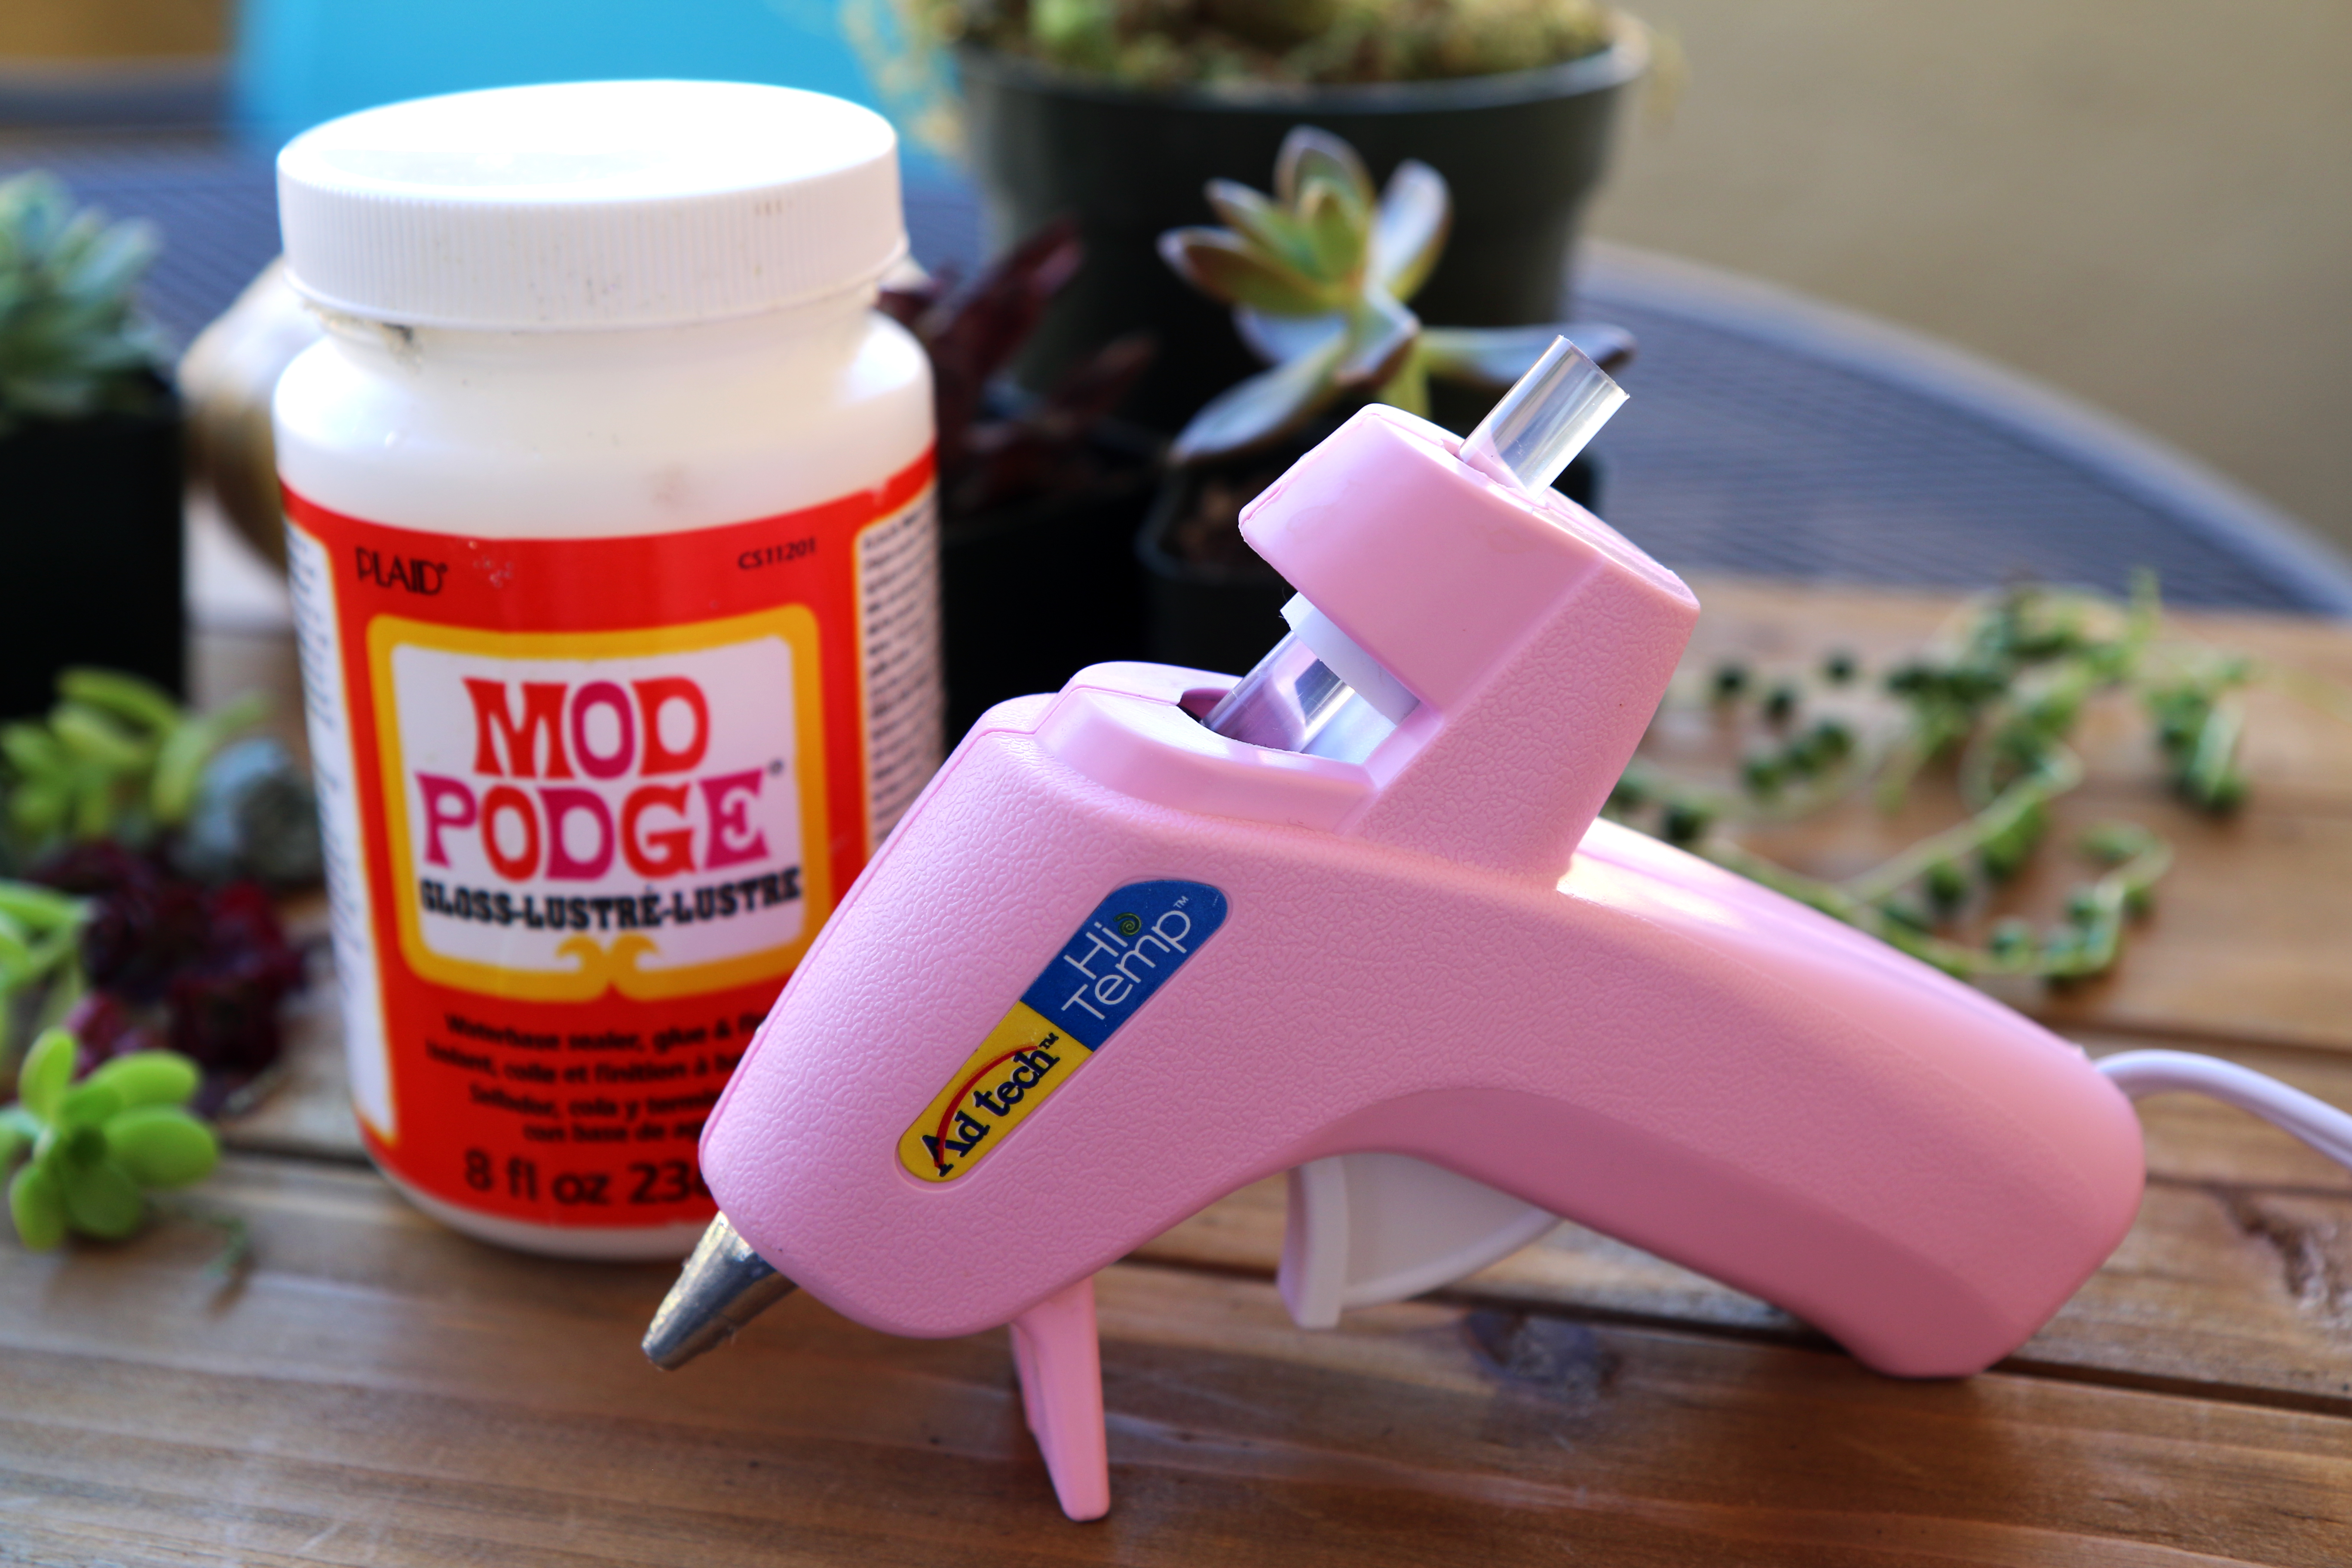
- Hot glue gun
- BONUS: Consider placing a pinecone, leaves, feathers, etc. on the pumpculent for something unique.
Instructions:

1. Lightly wipe the pumpkin down.
2. Cut the stems of the succulents, as close or as far away from the base as you want. I cut the bigger ones right down to the base and left the stem long on one of the taller, skinnier ones to add different heights.
3. Grab some moss and arrange it on the top of the pumpkin to your liking, making sure you have just enough. Spray or cover the top of the pumpkin with adhesive and arrange the moss on top. Allow it to dry. Note: Sam used spray adhesive but I had Mod Podge® at home already and both seemed to work!

4. Attach the three larger succulents to pumpkin with the hot glue gun, making sure not to burn yourself. If a part of the succulent breaks, do not worry – you can glue it on later. If one succulent is to large, feel free to cut the stem and manipulate the succulent however you like. They are hearty little plants.
5. Now arrange the smaller succulents randomly on the pumpkin to fill the spaces, again attaching them with the hot glue gun. I placed the glue on the pumpkin itself then attached the succulent. I spread out the different colors and again made them different heights. And that’s it!
Make sure you turn the pumpkin so it looks good from all angles, especially if you are going to use it as a table centerpiece. Most important – have fun! The wonderful thing about art is that it doesn’t have to be perfect. You can create and mold your unique pumpculent however you like.

If you search for other instructions, they may say to hollow out the pumpkin and place dirt in it so the succulents last longer; however, this is more likely to cause rotting. Since the pumpkin wasn’t cut into, the arrangement should last for a couple of months if taken care of properly.
If you want to keep your pumpculent longer, follow these instructions: Mist daily with clean water, using a water bottle (but wait to do so for 24 hours after initial gluing). The succulent roots will begin growing into the moss, and perhaps eventually into the pumpkin itself. Once the pumpkin starts to deteriorate, carefully cut off the top of the pumpkin (the part containing the succulent arrangement), and plant into an appropriately sized pot with soil, or into your garden.
If you have any questions, the staff at the Sierra Water Gardens can point you in the right direction.
We would love to see how your pumpculents turn out. Tag Sierra Water Gardens (Facebook: @sierrawatergardens; Instagram: @samanthastremmel) and This is Reno (Facebook: @thisisreno; Instagram: @thisisreno) and/or use the hashtags #thisisreno #sierrawatergardens
More information on the Sierra Water Gardens is on their website: https://www.sierrawatergardens.com/
 Bri is a recent Reno transplant, originally from Montana, and excited to explore the city and highlight local businesses and events. She is a full-time pharmacist, but enjoys writing and photography. She also has a personal blog.


